
Welcome to my Trail Finder 2 budget build. As I talked about in my “What Do We Have Here” blog post (link here) I wanted to do a budget build series where I spend $50 bucks every 2 weeks and upgrade my Trail Finder 2 as needed or wanted. Now before you think that I’m going to skimp on lesser quality parts let me assure you I’ll be using the best that are available for me to use, also the budget will be able to be carried over week to week so if I don’t spend all $50 during that two week period, what I don’t spend will be carried over to the next week to add into the pot. This will allow us to be able to add more expensive parts from time to time and hopefully not go over our budget. I’ll also be doing some of the free modifications as well as part of the budget build to show that not everything this is done has to come out of your pocket. With that being said, I did cheat a little in order to get my TF2 up to the level that I want to be at. I splurged on all of my electronics, I added Holmes Hobbies Torquemaster BR-XL, a Crawlmaster Expert 13t motor and the BLS HV500 servo as well as the Airtronics MT4 radio Also included in that splurge was JunFac Drive Shafts, SSD-RC 1.55 Steel D Hole Beadlock Rims and RC4WD Mud Slinger tires. I know I cheated a little, but I wasn’t thinking of doing a budget build when I picked up the kit itself.
Let’s go ahead and get to this weeks upgrades. When I first started researching the Trail Finder 2 there was two main things that everyone said that had to be done first. The main one was the drive shafts (I took care of that with the JunFac universals on my initial splurge). The second item that was concidered a “must have” was to get the Low Profile Skid by Helios RC (now Bowhouse RC).
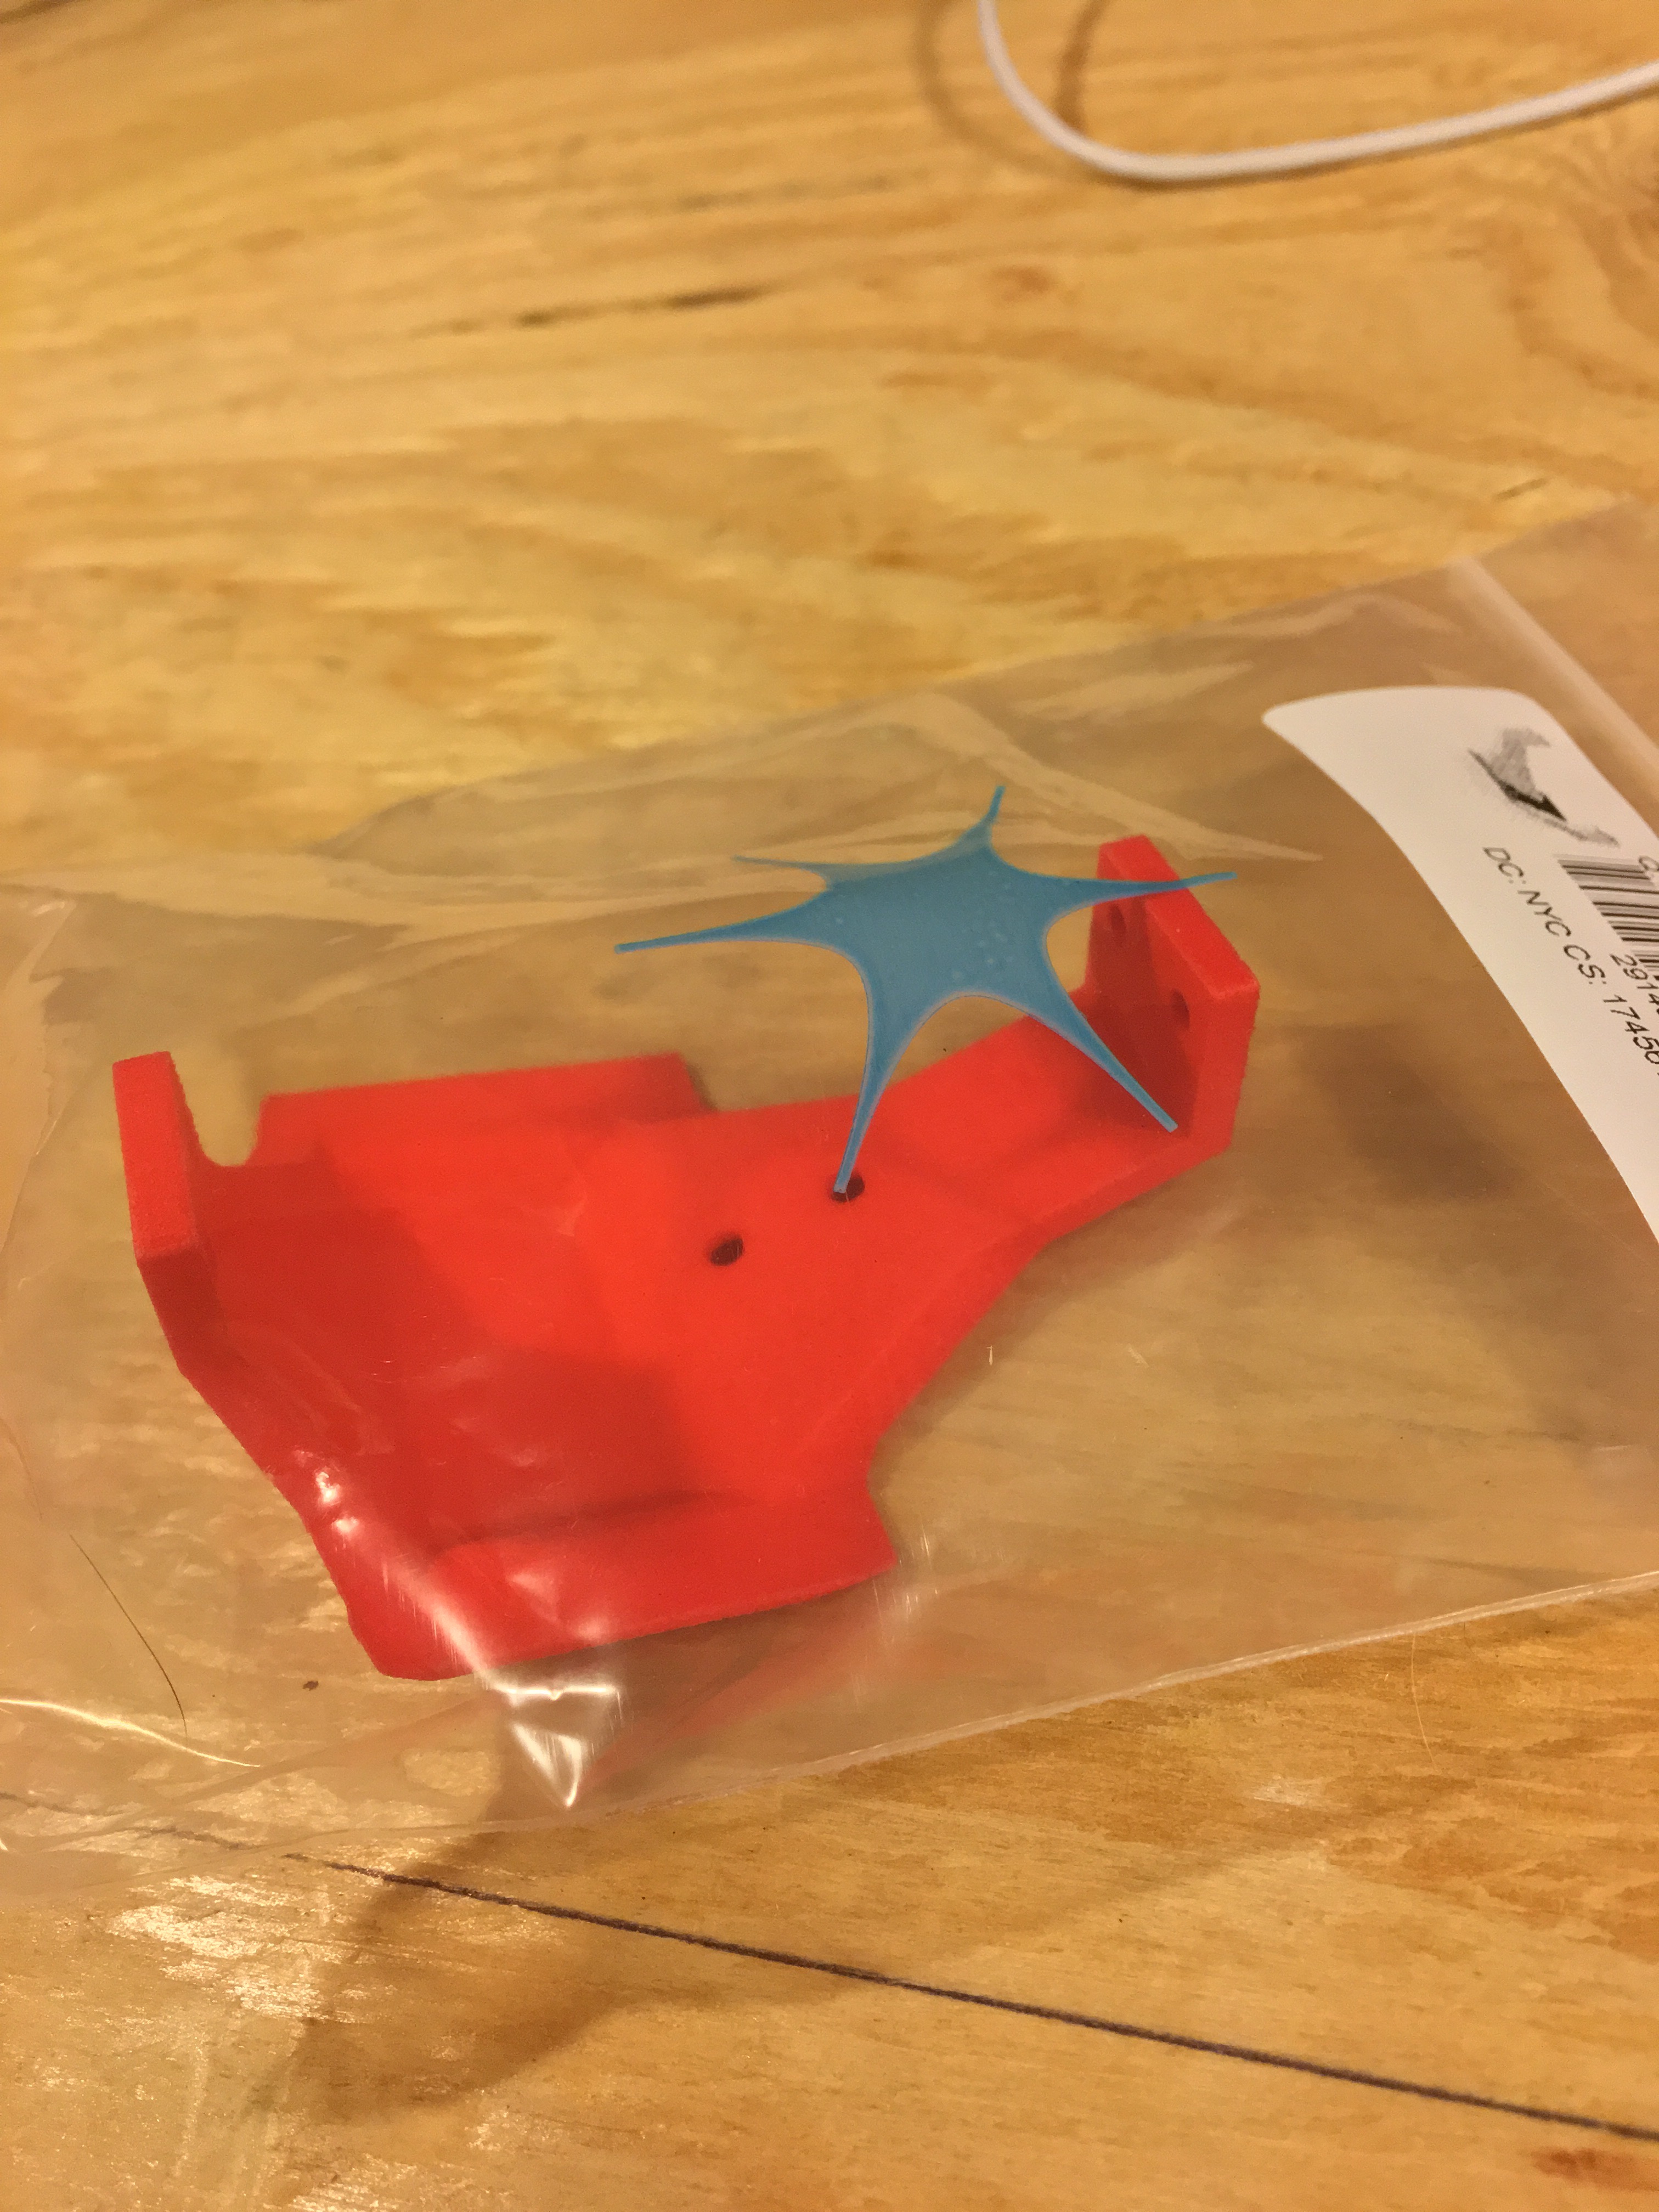
Installation was super easy, Just remove the electronics plate then remove the 4 screws that hold the old transfer case skid. What you will need is 2 new screws with nuts as you no longer have the threads that you screwed into with the old skid. It took me less than 20 minutes to remove the old skid and add the new one in and it made a huge difference. Some might say that 4mm isn’t a lot of difference, but when you’re rolling over rocks and logs it can be the difference in getting stuck and rolling right over something on the trail. For me it was a no brainier. A word of caution though, Since I am using the full cab piece on the Mojave body, you have to use the forward position for your electronics tray. with the new skid, I needed to add spacers underneath the electronics tray to make everything fit.not a big deal, but one you will want to watch out for if you use the full back for the body.

So that’s it for this week. Nothing crazy, but necessary part if you want to maximize the performance of the Trail Finder 2.
- This week’s budget – $50.00
- Low Profile Skid for TF2 – $24.95
- Carry over to next week – $25.05

Pingback: Trail Finder 2 Budget Build Part 2 | Team Shredded Gearz